Configuring two-factor authentication
Table of contents
You can enable two-factor authentication (2FA) on your npm user account to protect against unauthorized access to your account and packages using a security-key.
Important: Publishing to npm requires either:
- Two-factor authentication (2FA) enabled on your account, OR
- A granular access token with bypass 2FA enabled
For more information, see the npm documentation on requiring 2FA for package publishing.
Prerequisites
Before you enable 2FA on your npm user account, you must:
- Update your npm client to version 5.5.1 or higher.
- To configure a security-key requires a modern browser that support WebAuthn. This will allow you to configure a biometric devices featuring Apple Touch ID, Face ID, or Windows Hello as well as physical keys such as Yubikey, Thetis, or Feitian.
For more information on supported 2FA methods, see "About two-factor authentication".
Configuring 2FA from the website
Enabling 2FA
-
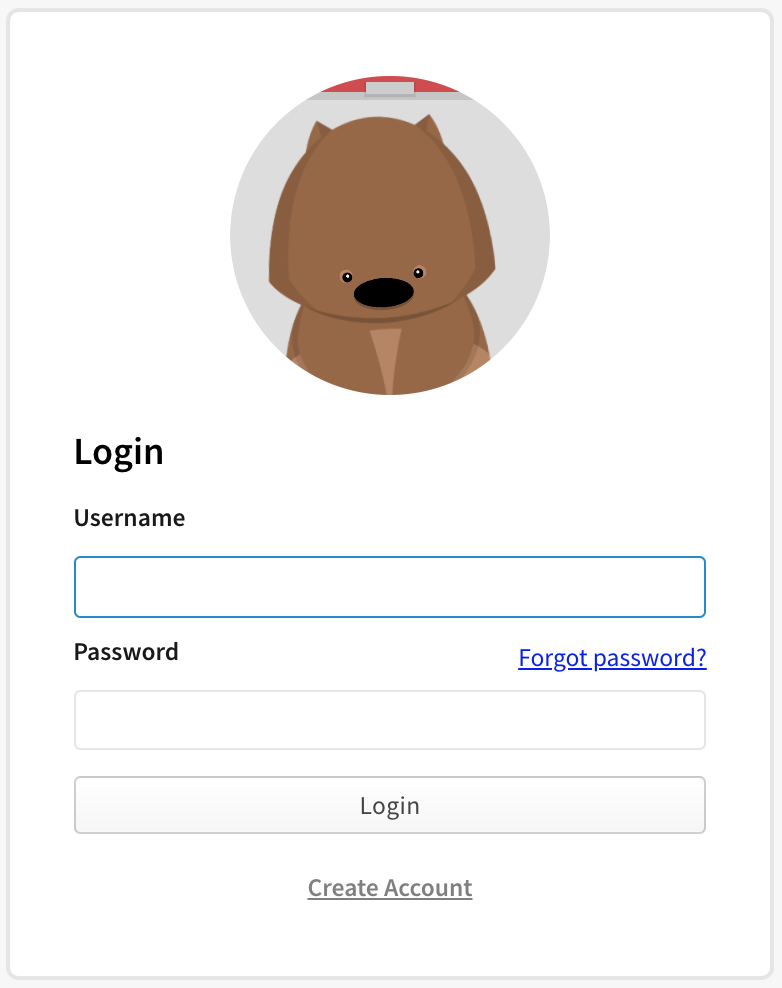
On the npm "Sign In" page, enter your account details and click Sign In.
-
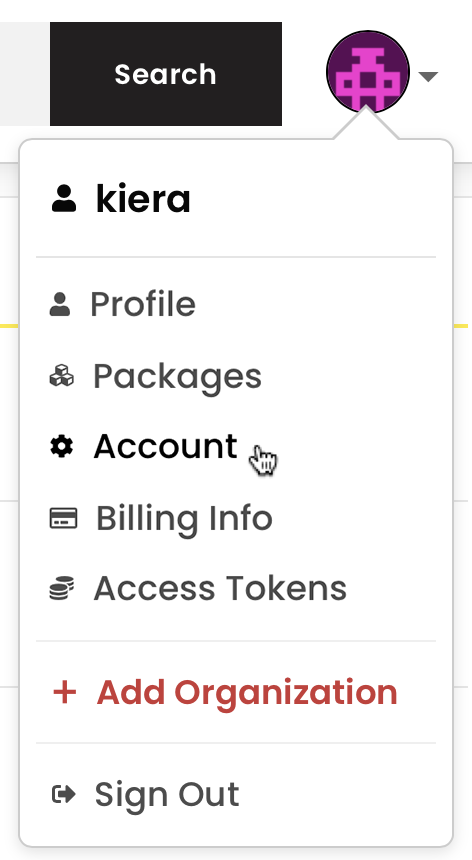
In the upper right corner of the page, click your profile picture, then click Account.
-
On the account settings page, under "Two-Factor Authentication", click Enable 2FA.

-
When prompted provide your current account password and then click Confirm password to continue.
-
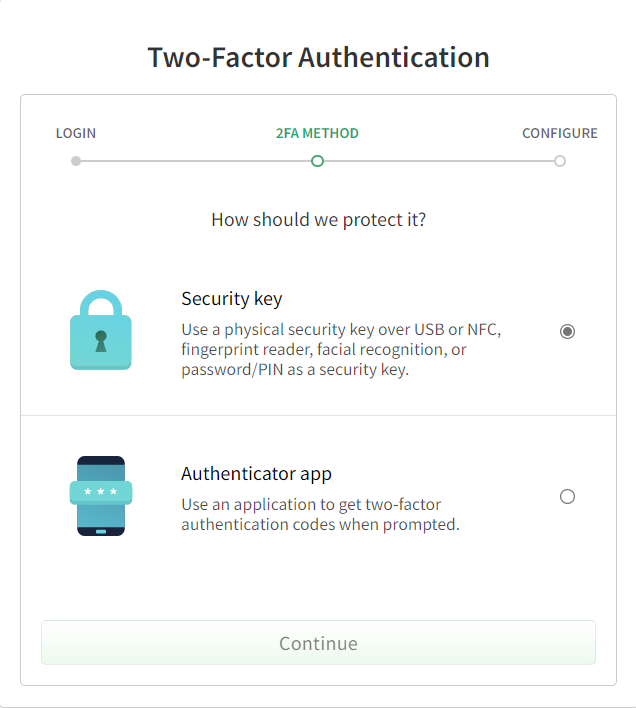
On the 2FA method page, select the method you would like to enable and click Continue. For more information on supported 2FA methods, see "About two-factor authentication".
-
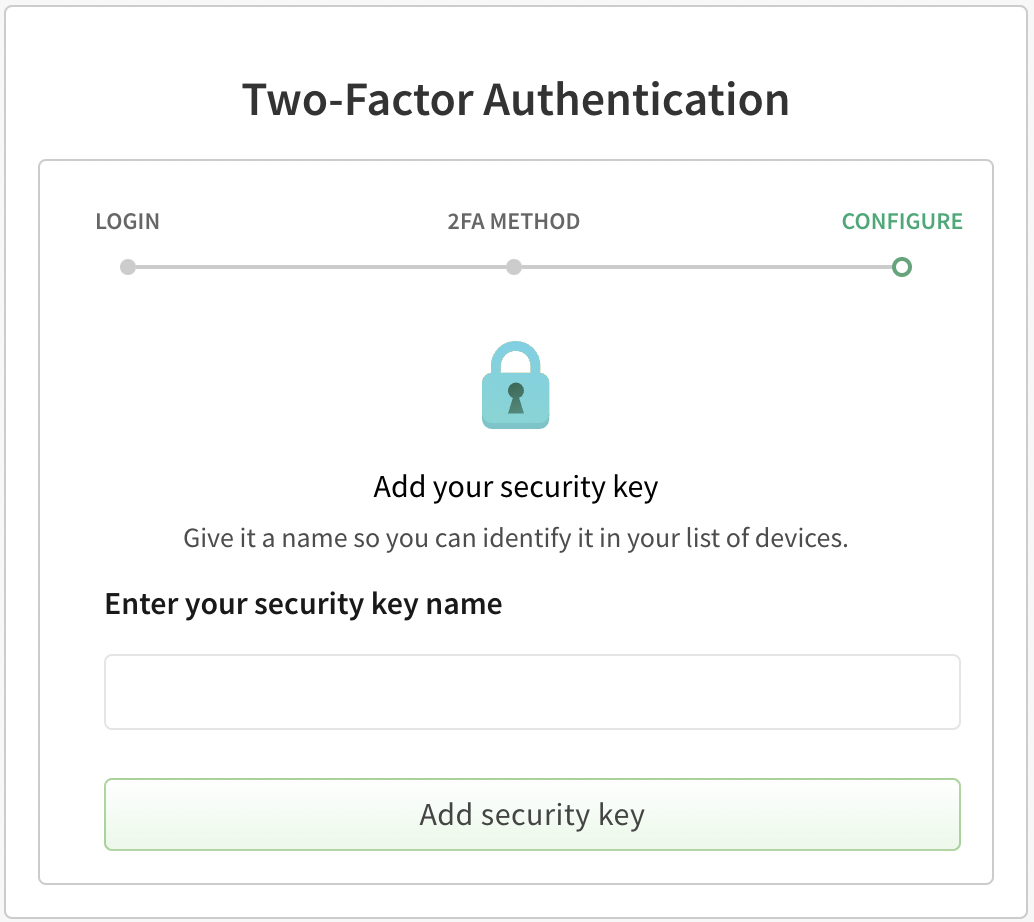
Configure your security-key:
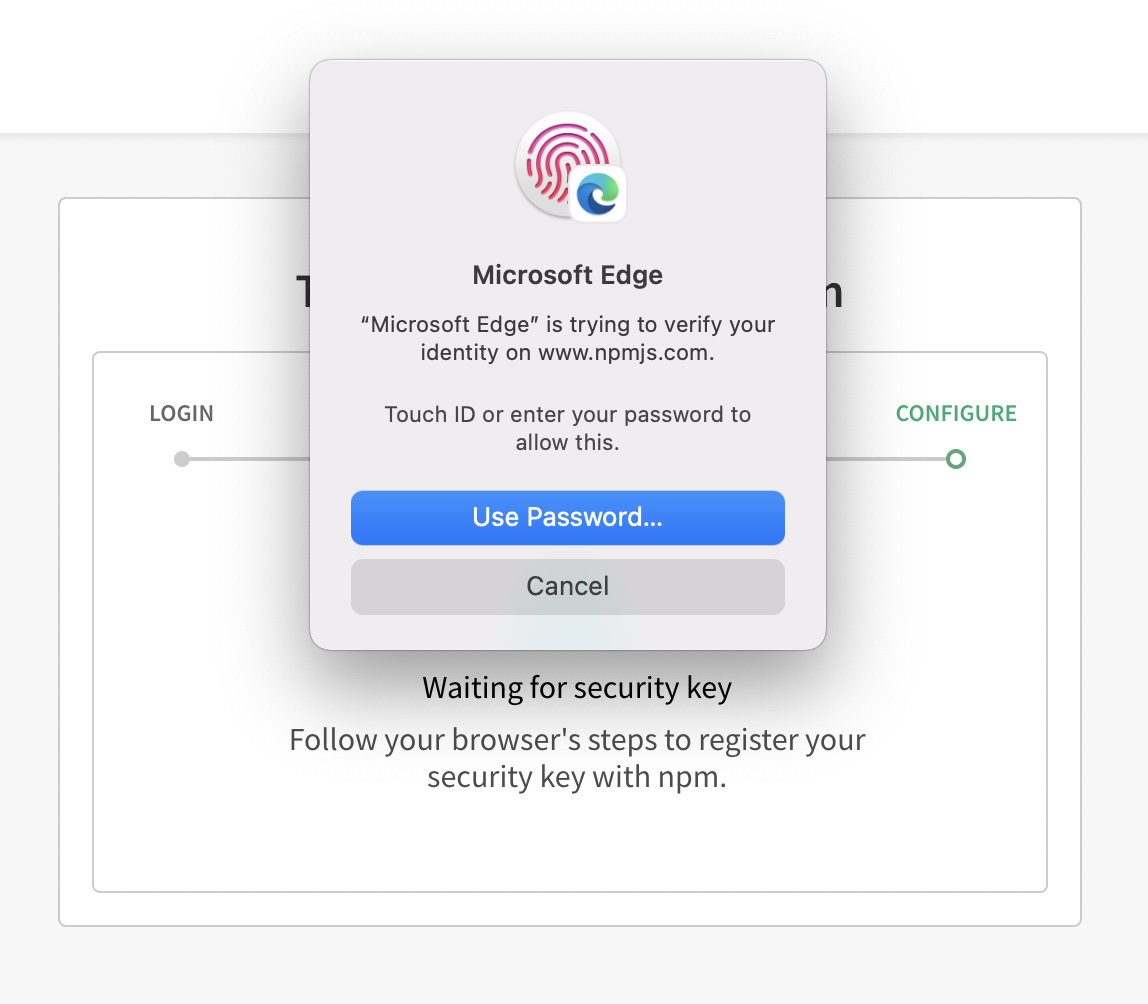
- Provide a name for your security-key and click Add security key. Follow the browser specific steps to add your security-key.
-
Below is an example of configuration from Microsoft Edge running on a MacOS
-
On the recovery code page, copy the recovery codes to your computer or other safe location that is not your second factor device. We recommend using a password manager.

Recovery codes are the only way to ensure you can recover your account if you lose access to your second factor device. Each code can be used only once. You can view and regenerate your recovery code from your 2FA settings page. For secondary account recovery options, see "Configuring account recovery options."
-
Click Go back to settings after confirming that you have saved your codes.
Disabling 2FA
If you have 2FA enabled, you can remove it from your account settings page.
Note: You cannot remove 2FA if you are a member of an organization that enforces 2FA. You can view the list of organizations memberships from your profile page under the "Organizations" tab.
-
On the npm "Sign In" page, enter your account details and click Sign In.
-
In the upper right corner of the page, click your profile picture, then click Account.
-
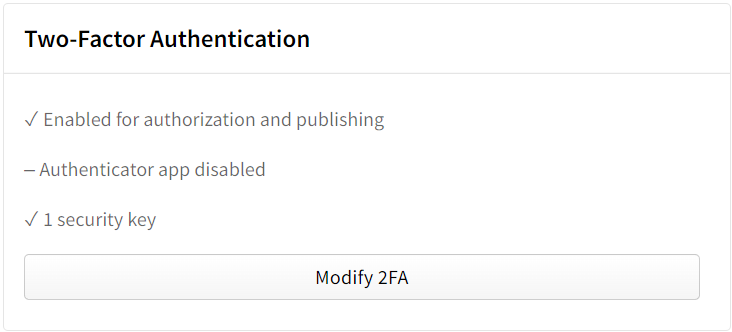
On the account settings page, under "Two-Factor Authentication", click Modify 2FA.
-
Scroll to the bottom of the "Manage Two-Factor Authentication" page and click Disable 2FA.

-
Agree to the prompt from the browser.
Configuring 2FA from the command line
Enabling 2FA from the command line
Security-key with WebAuthn can be used for authentication from both the web and the command line, but it can only be configured from the web.
Note: Settings you configure on the command line will also apply to your profile settings on the npm website.
For the best security experience, we recommend configuring 2FA through the web interface where you can set up security-key authentication.
If you need to enable 2FA from the command line:
-
If you are logged out on the command line, log in using
npm logincommand. -
On the command line, type the
npm profilecommand along with the option for the 2FA mode you want to enable:-
To enable 2FA for authorization and writes, type:
npm profile enable-2fa auth-and-writes -
To enable 2FA for authorization only, type:
npm profile enable-2fa auth-only
-
Using 2FA with commands
If you have enabled 2FA auth-and-writes, authentication will be handled automatically when using security-keys. For commands that require 2FA, you will be prompted to authenticate with your configured 2FA method.
Removing 2FA from the command line
-
If you are logged out on the command line, log in using
npm logincommand. -
On the command line, type the following command:
npm profile disable-2fa -
When prompted, enter your npm password:
npm password: -
You will be prompted to authenticate with your configured 2FA method to complete the removal.
Configuring account recovery options
When you enable 2FA on your npm user account, we strongly recommend you link your GitHub account to your npm user account. In the event you lose access to your 2FA device and recovery codes, this linked account can be used to verify your identity and expedite the recovery of your npm account.
-
On the npm "Sign In" page, enter your account details and click Sign In.
-
In the upper right corner of the page, click your profile picture, then click Account.
-
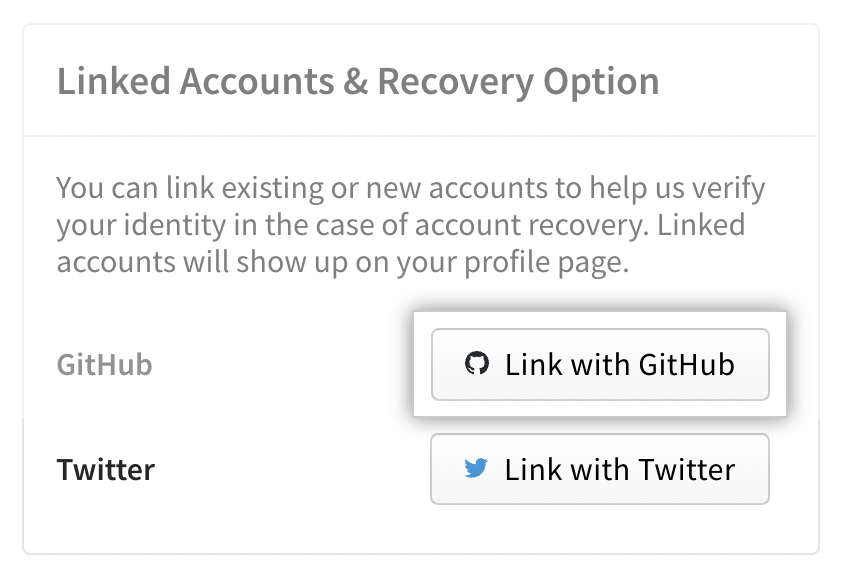
To link your GitHub account, on the account settings page, under "Linked Accounts & Recovery Option", click Link with GitHub.
-
On the authorization page, verify all information looks correct. Then click Authorize npm account link.
The GitHub account is now linked to your npm account. To remove the link, you can click the Remove button next to the account.