Updating organization billing settings
Table of contents
Note: This article only applies to users of the public npm registry.
As an owner of an npm Teams subscription, a paid organization plan, you can update the credit card used to pay for your plan. Updating your credit card will not change your billing cycle date, and the new credit card will be charged on the next billing cycle.
Updating credit card information
-
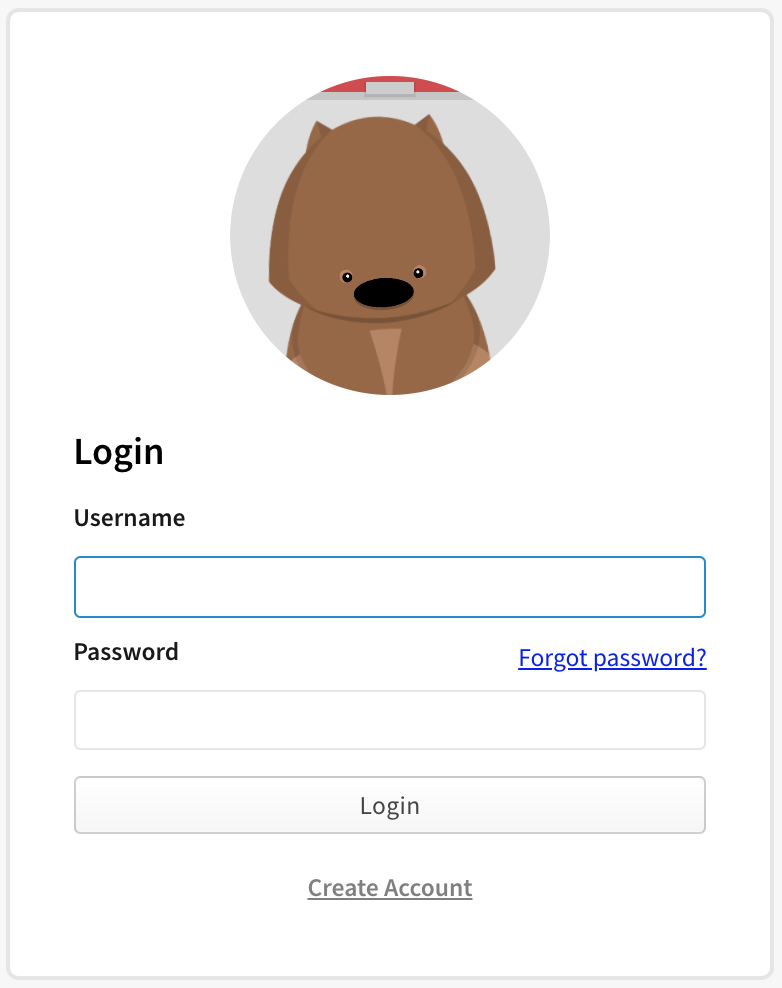
On the npm "Sign In" page, enter your account details and click Sign In.
-
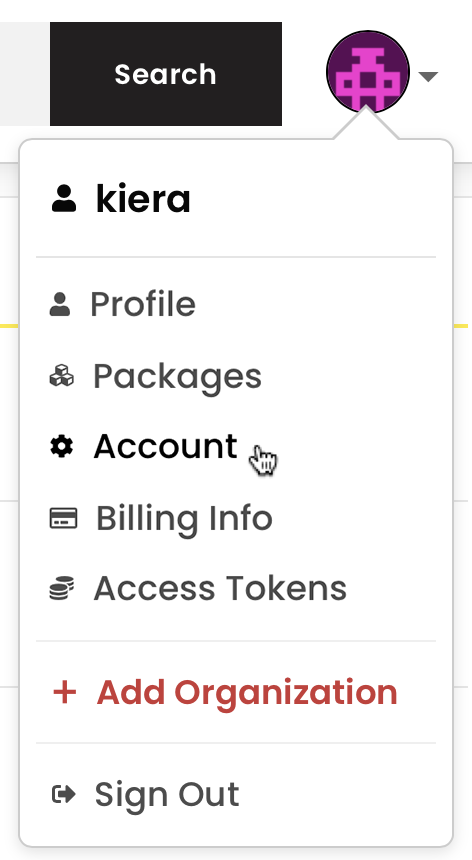
In the upper right corner of the page, click your profile picture, then click Account.
-
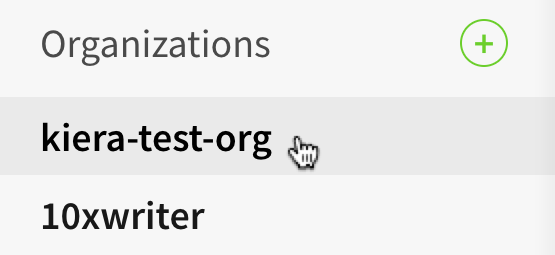
In the left sidebar, click the name of the organization whose credit card information you want to change.
-
On the organization settings page, click Billing.

-
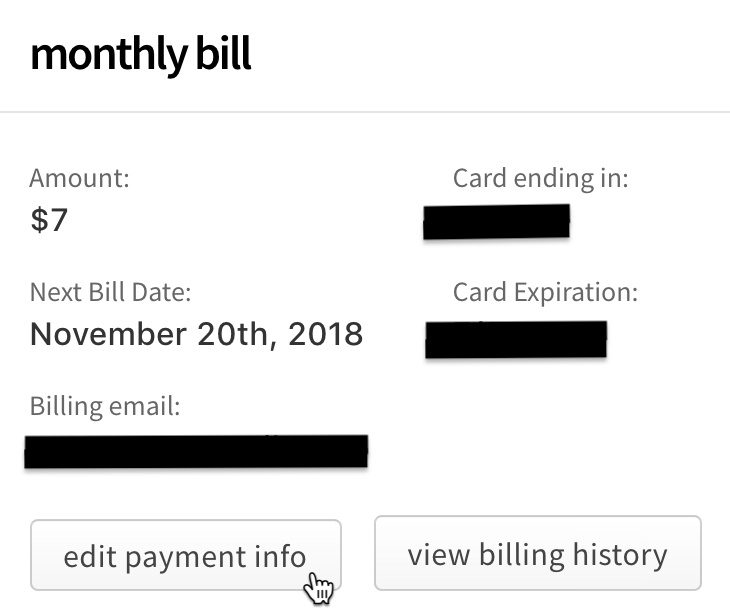
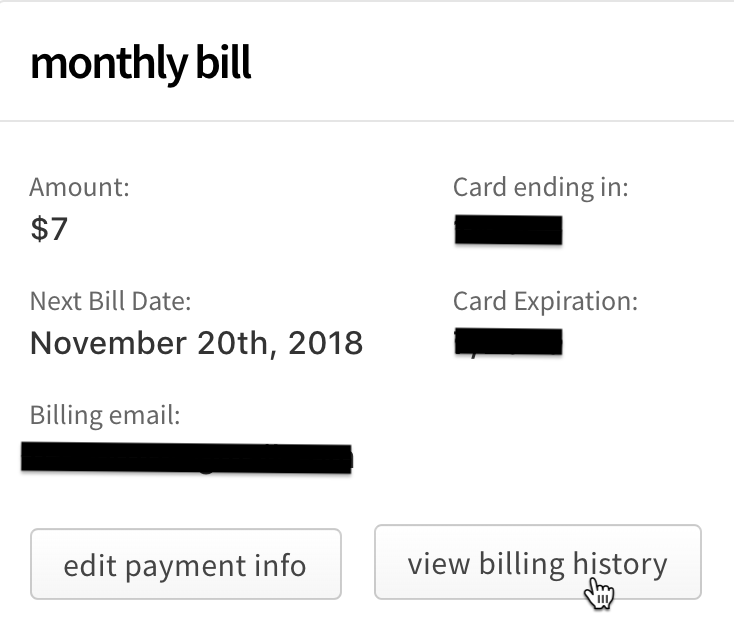
Under "monthly bill", click Edit Payment Info.
-
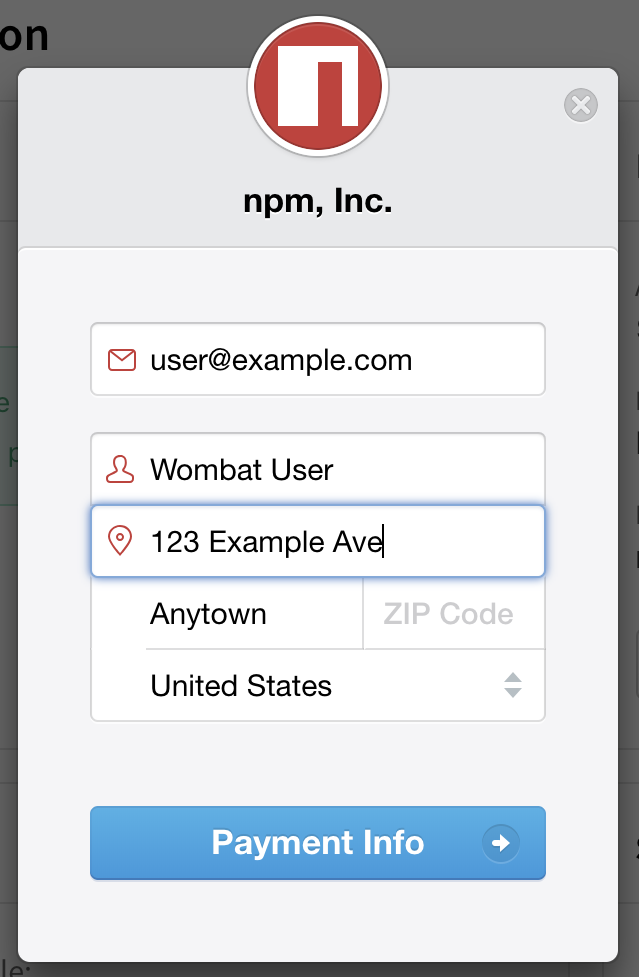
In the billing information dialog box, enter your billing information:
- Email: the email address used for the billing contact
- Name: the name on the credit card used to pay
- Street, City, ZIP Code, Country: the billing address associated with the credit card
-
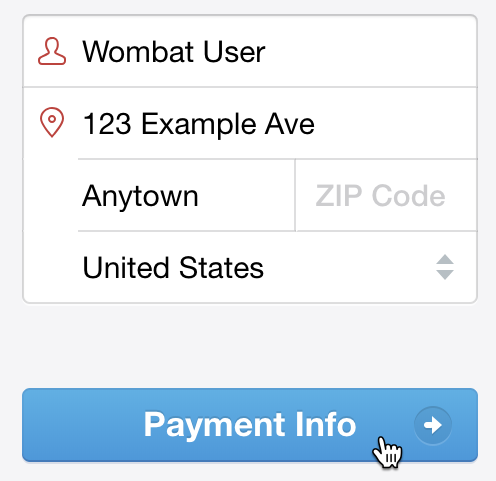
Click Payment Info.
-
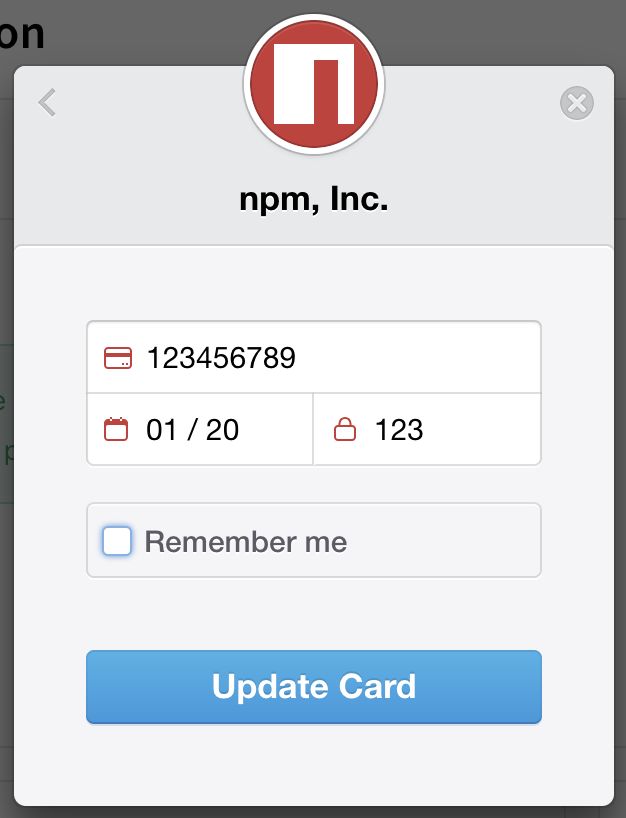
In the credit card information dialog box, enter your credit card information:
- Card number
- MM / YY: the month and year of the card expiration date
- CVC: the three-digit code on the credit card
-
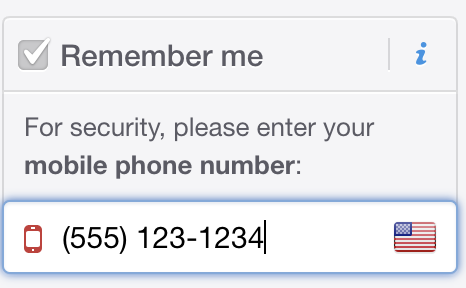
To save your credit card information for other payments on npm, select "Remember me".
-
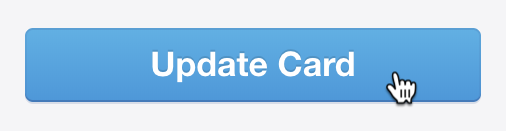
Click Update Card.
Updating billing receipt email and extra receipt information
As an organization owner, you can update the email address used for receipts, and add extra information to the receipt for your paid organization plan, such as your business name, VAT identification number, or address of record. Updated billing information will appear on all receipts immediately.
Note: The billing email is used for receipts only and is not required to match the email address of the person whose card is used to pay for the organization.
-
On the npm "Sign In" page, enter your account details and click Sign In.
-
In the upper right corner of the page, click your profile picture, then click Account.
-
In the left sidebar, click the name of the organization whose billing receipt information you want to change.
- On the organization settings page, click Billing.
-
On the Billing Information page, under "monthly bill", select View Billing History.
-
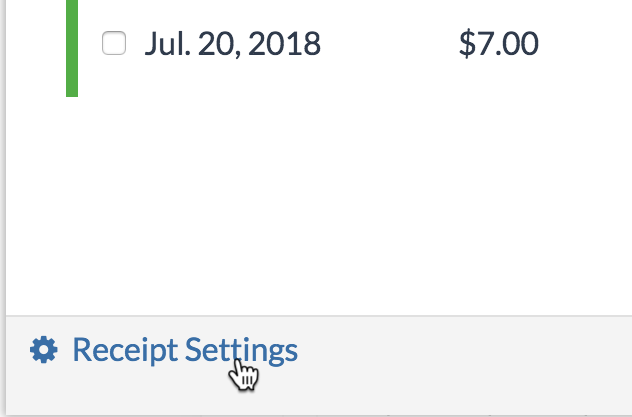
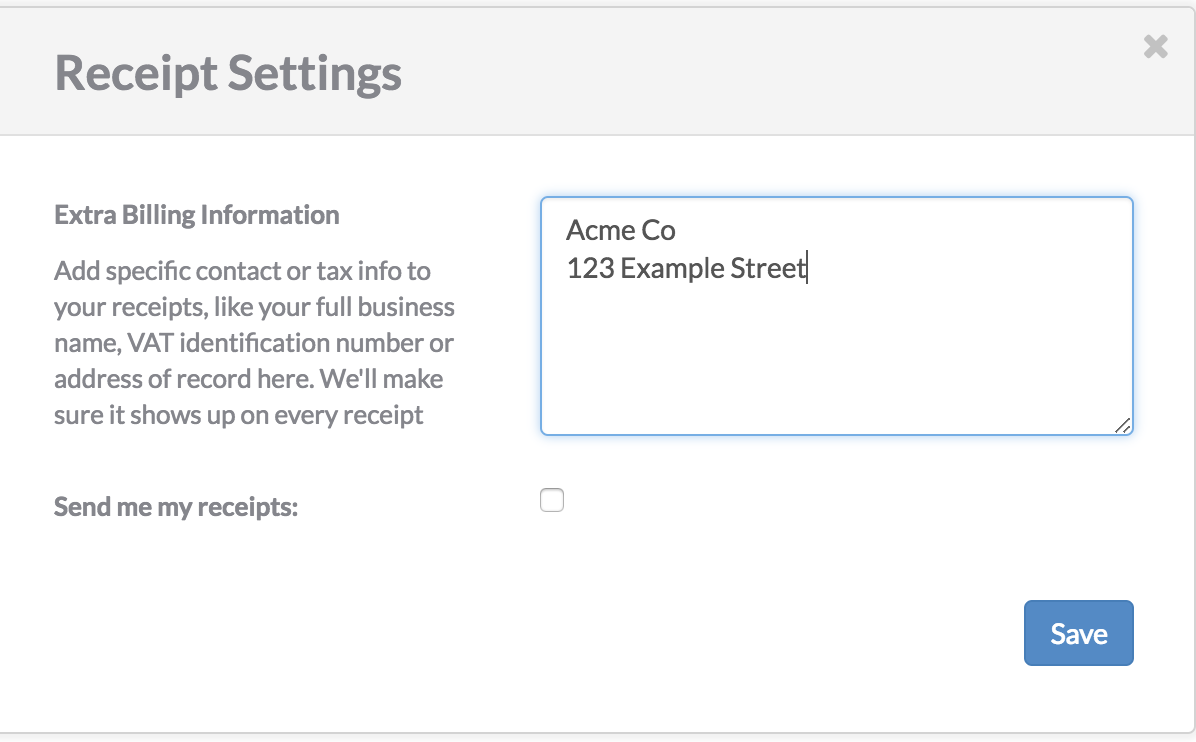
At the bottom of the Billing History dialog box, click "Receipt Settings".
-
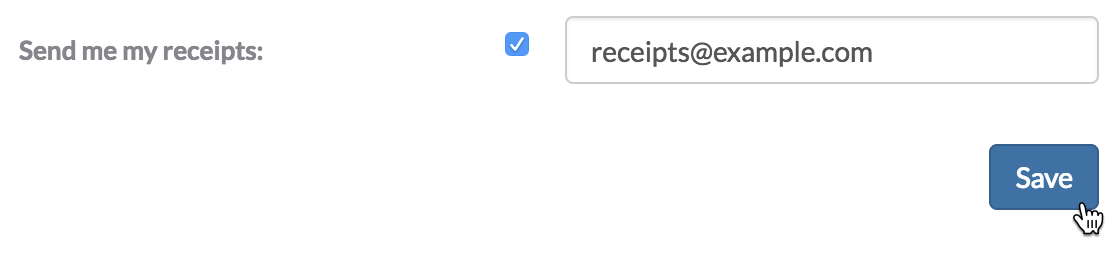
To add a business name, VAT number, address of record, or other information to your receipts, in the "Extra Billing Information" text box, type the information.
-
To update the email address used for receipts, beside "Send my receipts", select the checkbox and type the email address that should receive billing receipts.

-
Click Save.